Top Social

Image Slider

Showing posts with label baking. Show all posts

Chocolate Easter Treat!

24/03/2016


Hello Lovelies,  
Around Easter I always have lots of chocolate, so I thought why not show you how to use up some! ENJOY!
Ingredients:
100g Milk Chocolate
100g Mini Eggs (One Bag)
150g Marshmallows
25g Butter
3 Tbsp. Golden syrup
400g Rice Crispies
Method:
1. Put a saucepan of water on to boil.
2. While waiting make sure all your ingredients are prepared and ready because it gets super quick just chucking everything together you don't have time! 
3. In a Glass Bowl that is larger than the saucepan, add together the milk chocolate, butter, marshmallows and golden syrup.
4. Place over the boiling water and stir constantly with a spatula.
5. Once all has melted down, remove the bowl and place it on a cooling rack. 
6. Immediately add in all the rice crispies and mix mix mix! make sure all the crispies are covered and remember to scrape the bottom of the bowl as lots of chocolate will still be there!
7. Spoon the mixture into muffin cases and it's okay for them to be large! I filled 10 cases!
8. Then add on top mini eggs to look like little birds eggs on a nest.
9. You can either eat them while they are gooey or leave in the fridge for 2-3 hours and they would have set.

I love eating these treats all year round because it is sugar galore but it is acceptable more around easter because... well everyone is eating chocolate so why not.


Happy Easter, i hope you all have a lovely time whatever you do and enjoy the 4 day weekend! 
-Abigail x

Halloween Doughnuts!

22/10/2015
Hellooo Lovelies,
So of course it is nearly Halloween! I'm normally really into Halloween, however this year I have been distracted because I'm on holiday for it (Talking of which, I am currently in the sky flying to Florida!) When thinking about how I’ll spend mine sunbathing on the beaches of Florida, I realised that not everyone will be there. So I created this concoction...
 
You Will Need (makes about 18):


·         75g plain flour

·         ½ tsp baking powder

·         ¼ tsp salt

·         55g Caster sugar

·         60ml milk

·         1 egg, beaten

·         1 tsp olive oil

·         ½ tsp vanilla extract

·         Assortment of Food Colouring

·         50g Icing Sugar

·         Icing pens

·         Silicone Doughnut tray ( Similar here)

Recipe:
  1. Preheat the oven to 180°C/Gas Mark 4.
  2. Lightly brush the doughnut tray with cooking oil.
  3. Take a large  bowl and sift the flour, baking powder and salt into it.


4. Add the sugar and give it a stir to thoroughly combine it all.


5. In a separate bowl whisk the milk, beaten egg, olive oil and vanilla extract together.


6. Then add this to the dry ingredients, mixing thoroughly.
 
 
7. Now divide your mixture into 3 different bowls adding a different food colouring to each.


8. Using a teaspoon carefully fill each of the doughnut moulds around ¾ full with the batter. Place in the oven and bake for about 8 minutes, or until firm, but springy to the touch.


9.  Allow to cool slightly, before popping them out onto a cooling rack.
 
10. Mix the icing sugar with a teaspoon of water, adding also 1/2 drops of food colouring. Then drizzle over the top. Or as my little brother did, just use the icing pens and create your own pattern!


11. Eat the doughnuts, with a surprising pop of colour inside!
 
 
Thank you to my 4 year old brother who helped me make these... interesting doughnuts. They do however taste amazing!! Have a lovely Halloween!


-Abigail x

Chocolate Orange Brownies With White Chocolate Chunks!

06/05/2015
Helloooo!
 
This blog post is going to make you extremely hungry.. I'm sorry in advanced. I'm sat here right now eating hot gooey  brownies that taste absolutely divine! The main base of this recipe is from my work experience placement which was in an old peoples home. Now I know that sounds weird but they have a 5 star chef, who makes the most amazing food! So after trying these I asked for the recipe! I made these changing the recipe slightly to suit my taste but I think they still taste amazing! The one thing I was surprised at with this recipe is there is no Terry's chocolate orange inside, which is my favourite, but I guess you are sort of making your own!
 
 
You will need:
350g dark chocolate
250g Butter
3 Whole eggs
250g Soft brown sugar
100g Plain flour
5g Baking powder
1 teaspoon of orange essence
100g White chocolate chips
1 Large orange-Zested
 
 
Step one: Preheat your oven to 180° (gas mark 4/5)
 
Step two: Melt the chocolate and butter in a bowl over a saucepan of boiling water.
 
Step three: Whisk the eggs and sugar in a bowl, with an electric whisk until light and fluffy!

 
Step four: Fold the egg and sugar mixture into the melted chocolate and butter!
 
Step five: Add in the orange essence and orange zest!


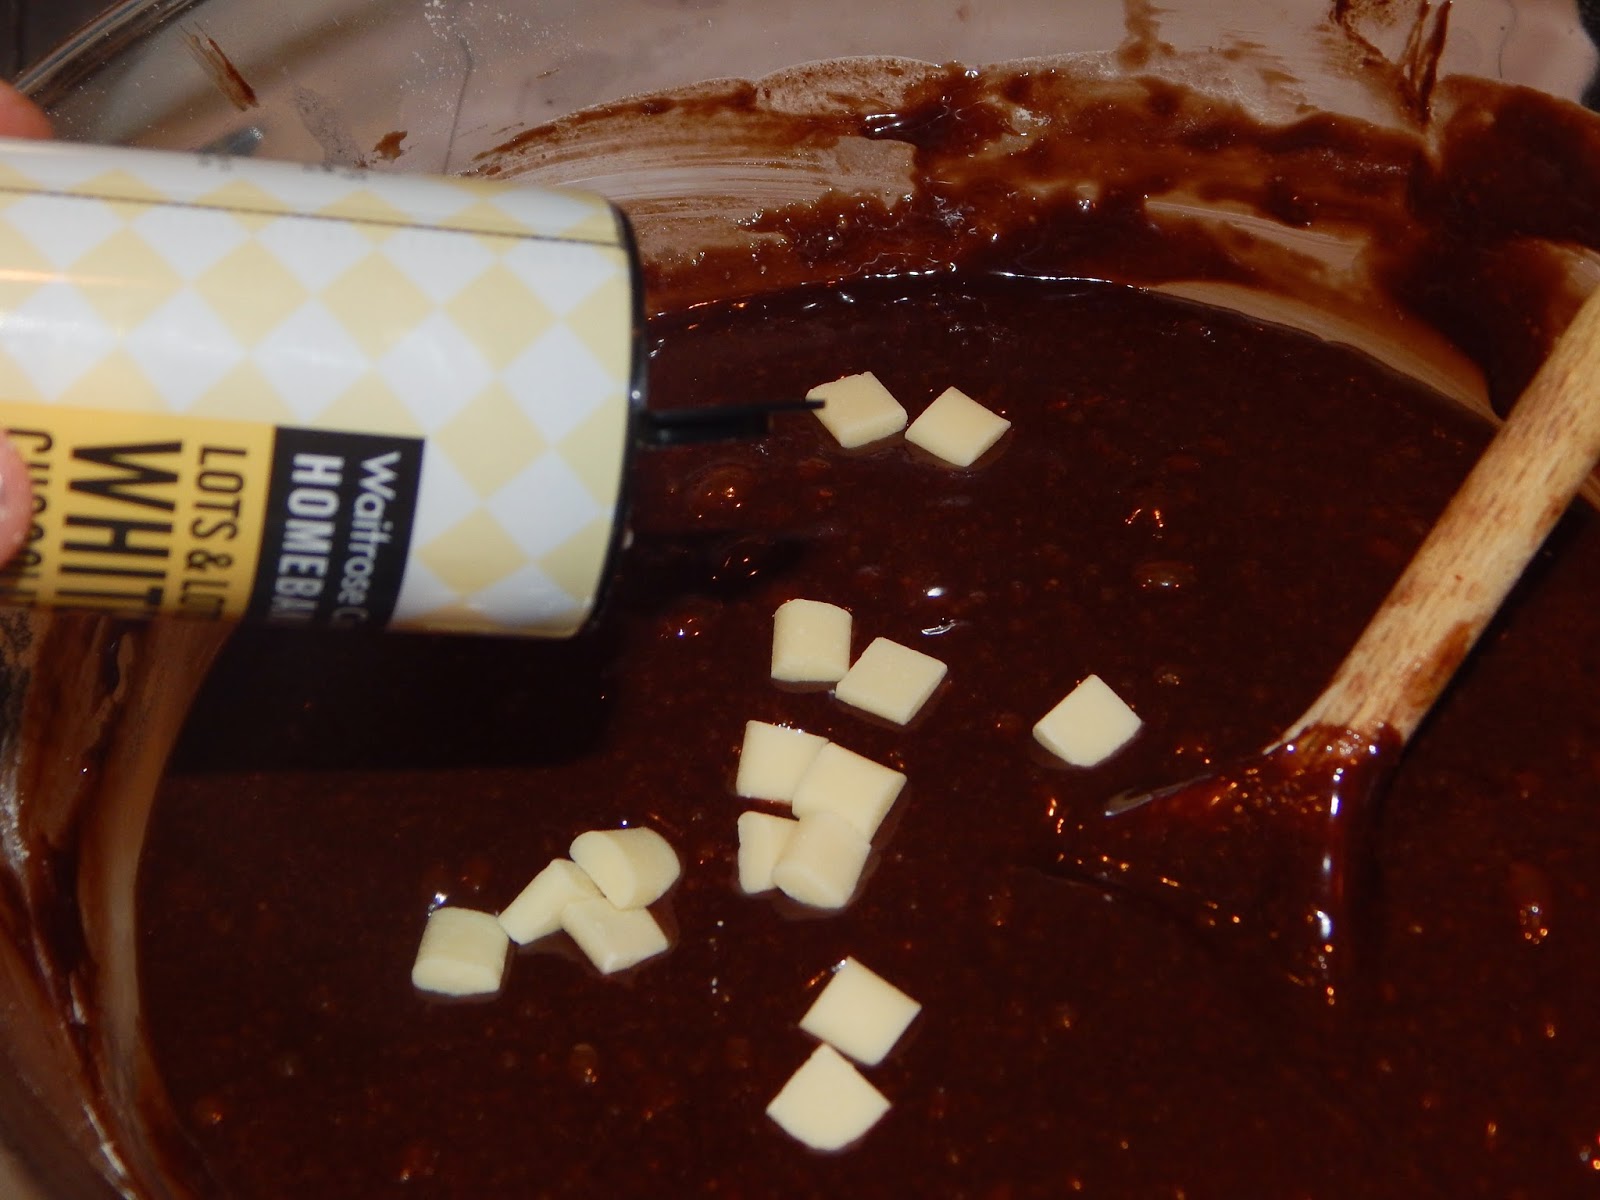
Step six: Now sprinkle in 3/4 of the chocolate chips.
 
Step seven: Fold in the flour and baking powder.
 
Step eight: Transfer onto a tray lined with greaseproof paper. Then take the 1/4 chocolate chips that are left and drop them all over the top!
 
Step nine: Bake in the oven for 25 minutes ( or until a skewer/fork/knife comes out clean!)
Step ten: Enjoy!

 
I hope you have enjoyed this blog post! This post was mainly because I am rubbish at looking after paper with recipes on, so now I know where to look when I want it! If you make these, show me on my social media.. links under the contact tab at the top!
 
<3

Blogmas day 23: COOKIE FAIL!

23/12/2014
HELLOO EVEERYONEEEE!

OH MY GOLLY GOOSEBERRIES ITS 2 DAYS UNTIL CHRISTMAS WHAT!? WHAT?! WHAT?!?!?


So if you haven't guessed by the title this was supposed to be a cooking tutorial because I love to bake however they turned out rock solid :( I baked them for shorter than the recipe said and they came out hard as rock!! However im still going to tell you how I did it!

You will need:
  • 150g- salted butter
  • 80g- light brown muscovado sugar
  • 2 tsp- vanilla extract
  • 1- large egg
  • 225g- plain flour
  • ½ tsp- bicarbonate of soda
  • 200g- Milk chocolate chips.

    1. Preheat the oven to 180 degrees.
    2. Line two baking trays with non-stick baking paper.
    3. Put the butter and sugar into a bowl and beat until creamy. Then mix in the vanilla extract and egg.
    4.  Sieve the flour and bicarbonate of soda over the mixture and mix in with a wooden spoon.
    5. Then add the chocolate chips and stir well.
    6. Using a teaspoon, place small mounds of the mixture well apart on the baking trays. Bake in the oven for 10 mins until light brown.- I RECOMMEND 8 MINS!
    7. Leave on the tray for a couple of minutes to firm up and then transfer to a cooling rack.
    There is the recipe for the cookies! This is how mine turned out even though they are rock solid :(
     
    MINE LOOK VERY WEIRD I KNOW!


    <3
     

    Blogmas day 15: Christmas cupcakes kinda thing?!

    15/12/2014
    HEEYOO EVERYONEE
     
    ITS 10 DAYS UNTIL CHIRSTMAS YEAYAYAYAYAY!
     
    I thought that today I would show you my cupcakes that I have made, because I am baking mad and keep making new things! So lets goo!
     
    You will need:
    110g- Butter
    110g- Caster sugar
    1106- Self raising flour
    2- eggs
    75g- Mixed fruits/berries
    75g- Milk chocolate
     
    LETS GO!
     
    1. Start by preheating the oven to 180C/350F and line a 12-hole cupcake tin with paper cases.
     
    2. Cream together the butter and sugar until it is like a gloppy icing.
     
    3. Then beat in your eggs.   
     
    4. Mix in your chocolate chips and fruit.  
                                         
    5. Fold in the flour using a large metal spoon. Spoon the mixture into your paper cases.


    6. Bake for 10-15 Minutes.
     
    7. Then allow to cool before eating!


    These cup cakes tasted divine! I loved them so much and would recommend them to anyone and everyone! These can be a nice treat to nibble on, on Christmas eve while watching films with your family!


    <3

    Blogmas day 13: Christmas shortbread!

    13/12/2014
    HELLOO EVERYONE!

    12 DAYS UNTIL CHRISTMAS YES YES YES!

    Today I'm doing something that I love and that's baking! I have made some amazing shortbread and I made them into cute Festive shapes, and I thought that they could be cute as gifts or just with a hot chocolate or cup of tea!

    You will need:
    - 125g Butter
    - 55g Caster Sugar
    - 180g Plain flour
    Method:
    1. Heat the oven to 180c
    2. Beat the butter and the sugar together until smooth.
    3. Stir in the flour until it is like a dough, and then place on a floured surface. 
    4. Cut into all different shapes you like and sprinkle with caster sugar and chill in the fridge for 20 minutes.
    5. Bake in the oven for 15-20 minutes, or until pale golden-brown. Set aside to cool down!

    My shortbread tasted amazing! My fabourite shapes are below:

    I hope you liked this post, because I love baking so I have more cooking tutorial soft you! You could now take a stack of the same shape and stack them up then tie a ribbon around the outside as a cute gift idea!


    <3

    Auto Post Signature

    Auto Post  Signature